Sunday 28 February 2016

Black Out

Tested the headlights, taillights, brake lights, signals, and horn...all work dandy.

Seeing the blacked out chrome cleans things up and is nicer than peeling chrome so I think it will stay.

First time out of the shop for a couple pics between rain today.


Saturday 27 February 2016

Good from far...far from good :-)

Got a few coats on the entire truck today.

Besides a huge gust of wind which blew open the shop doors and a bunch of dust into the shop, my inexperience with a spray gun, a less than professional body-work job, and splashing paint thinner into my eyes...it was a great day!

I will say that my respect for those who do this kind of stuff for a living has increased a great deal through all this.

I will also say that although my personal expectations for how a $300 paint job should turn out were likely much higher than they should have been, the results are positive in that (1) the truck is sealed and (2) one single color.

Here are a few pics from inside my shop with poor lighting (for this kind of thing anyways) which gives different hues and darks/lights.  Can't wait for it to cure so I can take it outside (when the weather is better) and see what it actually looks like.


Thursday 25 February 2016

Roof Painted

We'll see what it actually looks like in the morning.  Rachel reminded me that she's comparing it to the Camo color so pretty much anything is going to look good :-)

This is two coats.  I will likely do one or two more if it looks half decent tomorrow.


Wednesday 24 February 2016

More bits...

Tonight...

- Welded the fuel pedal stop into place.  I had to switch sides with the whole RHD/LHD thing.
- Got the rest of the GT Mat down in the front section now that the firewall is in place.
- Sanded the entire truck down with power orbital and then again by hand.
- Commercial degreaser over entire truck as a preliminary prep for paint.
- Taped the few little pieces that are on the truck that I don't want to become grey.
- And Jaxon pulled rocks out of the tires :-)

I will say that the boys have been so very patient with this project and are now really eager to help and get 'er done.  They've all participated in some way through the process, even though many times the jobs were just too dangerous or too picky for them to really get in and help.  I think it will be really neat to have a vehicle that they all feel is "theirs" now.

No pics again...just boring stuff really anyways.

Tuesday 23 February 2016

It's alive!

Tonight I was able to install the battery trays, air cleaner, basic wiring and tighten up all the body mounts now that all the parts and pieces of the body are installed.

Then I pushed the glow plug button...

Turned the key...

And lit it up.

Purred like a kitten.

And with having just replaced that Injection Pump Diaphragm I noticed the rpm's were noticeably lower.  As well, with the GT Mat all throughout the truck (even without any windows in!), it was incredibly quiet compared to the rattlebox of a rig that it once was.  Seriously, it was almost eerily quiet for a diesel and for a Landcruiser.

Everything is tight.

Everything is sealed (except the windows of course).

And I have a huge grin on my face tonight.

Now onto finishing up minor body work and cleaning/prep for paint job on the weekend!

Sorry, no pics tonight.  I'm calling it an early night (10:30) and ending on a high note.

Exterior wrapped

Well, had a pretty good weekend.

- Bled and flushed fuel, coolant, brake, and clutch systems.  No leaks as of yet.

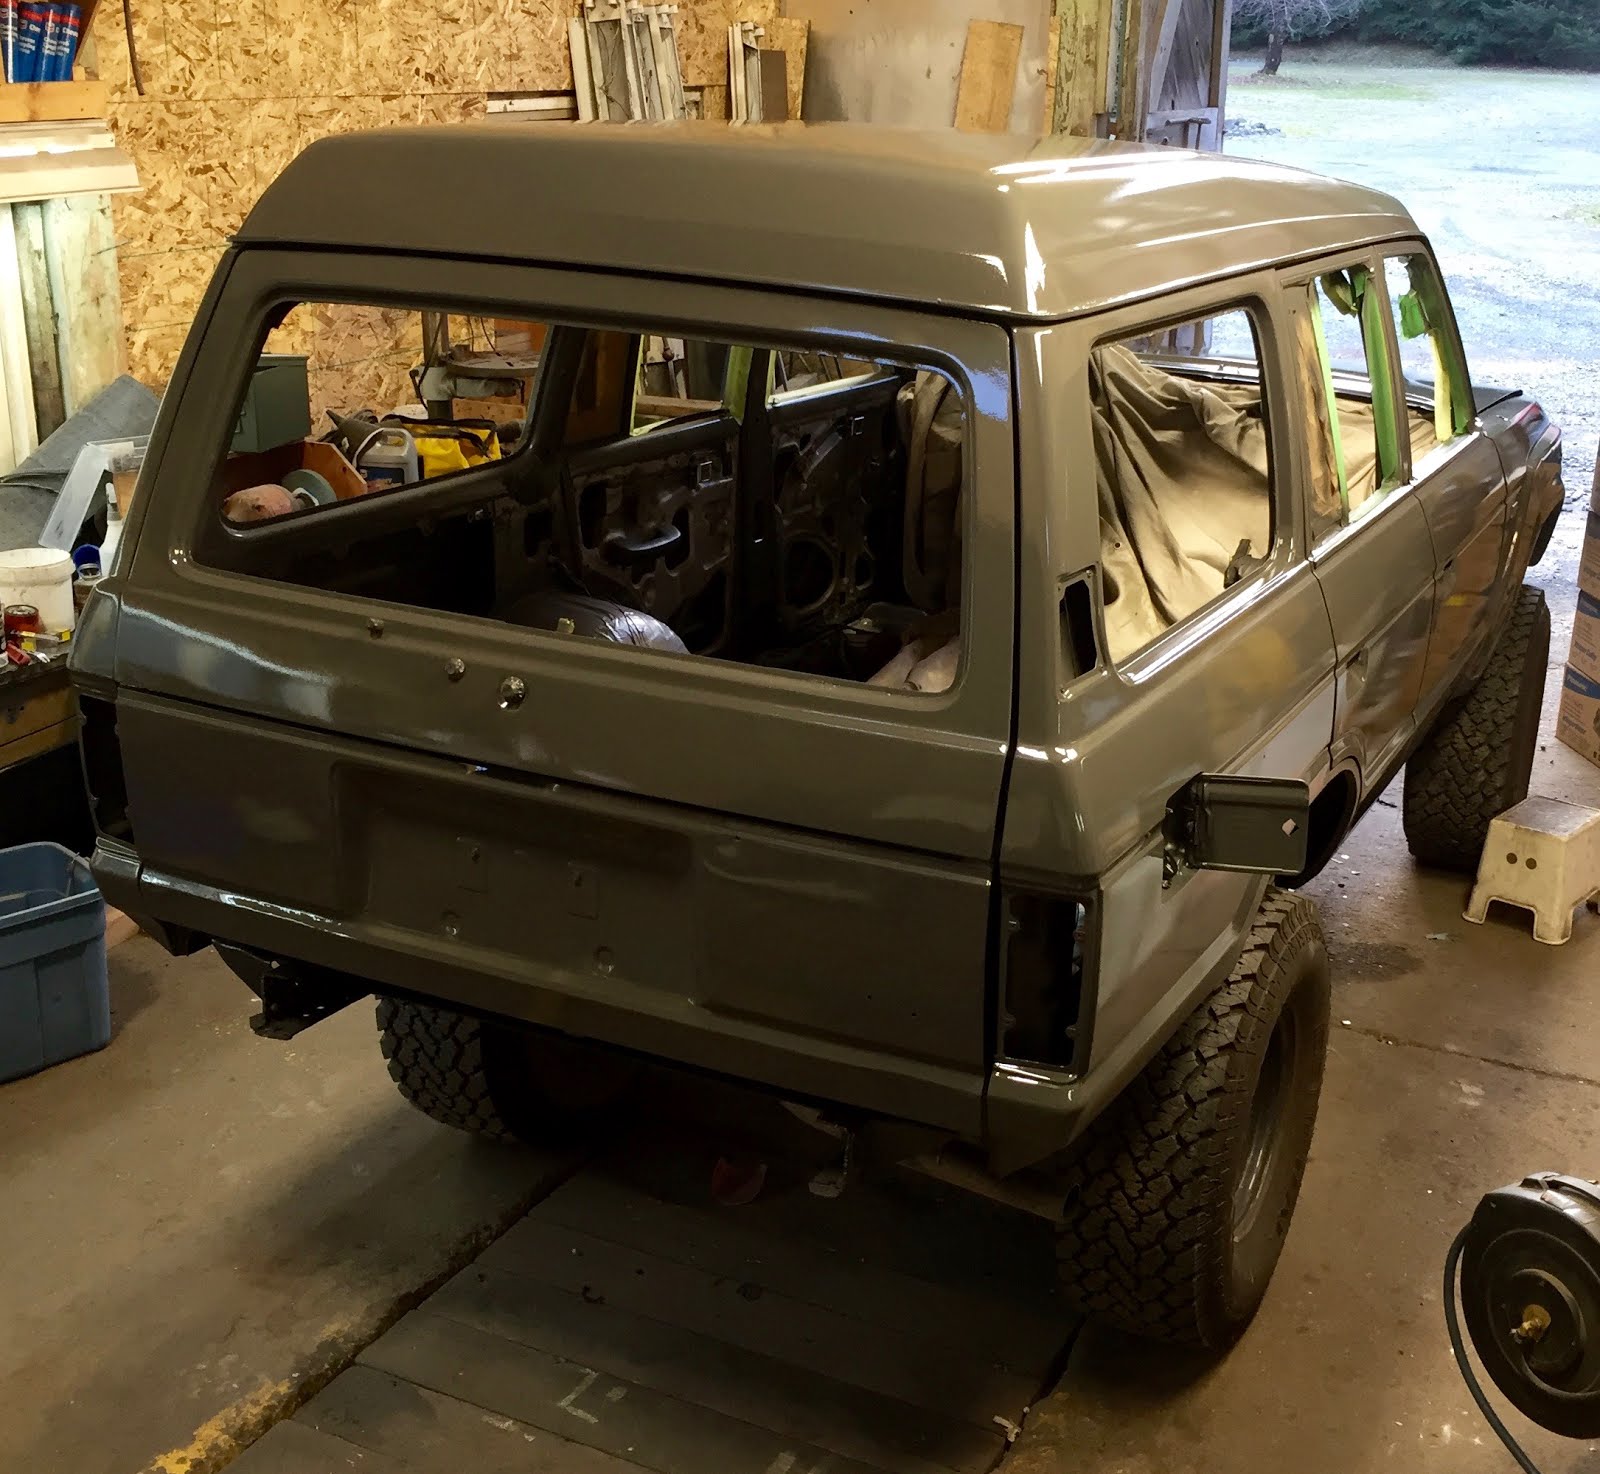
- Mounted all exterior panels, fenders, hatches, hood, etc.

- Adjusted closing/locking mechanisms on front and back hatch/hood/tailgate.

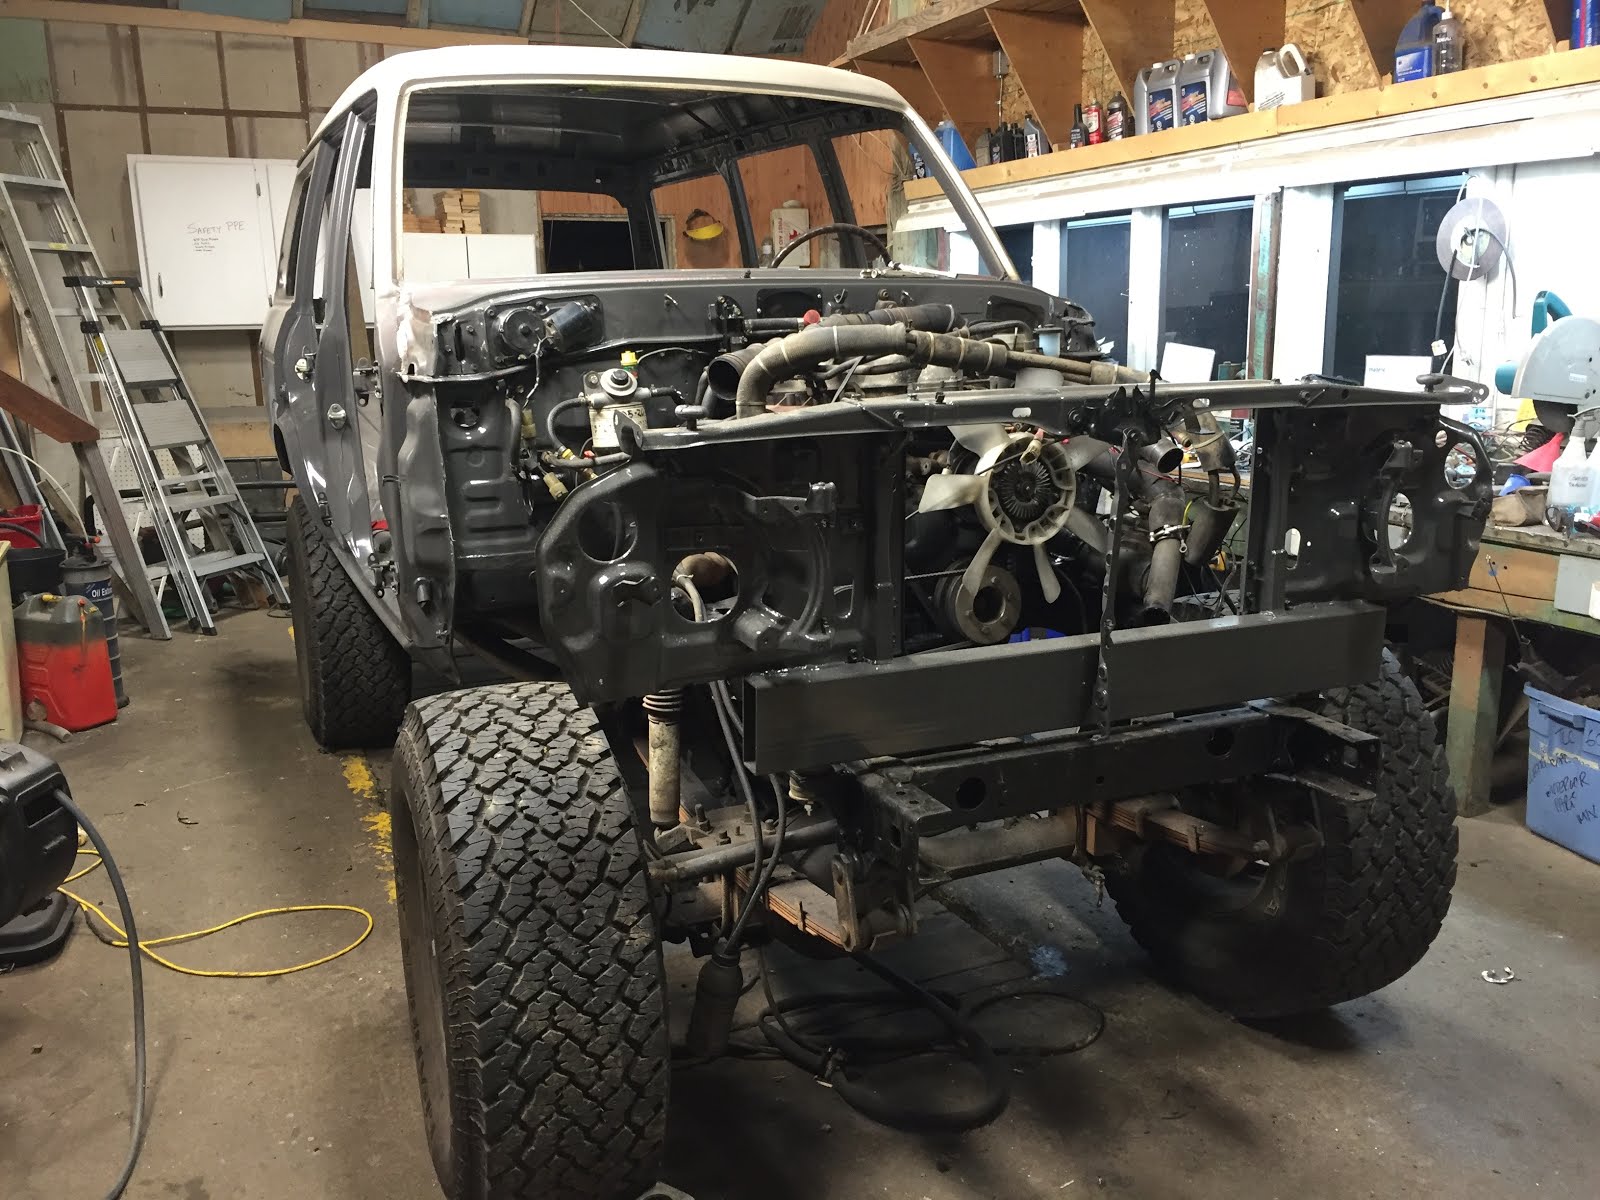
- Welded window connection to firewall.  OEM was brazed.  I don't know how to braze.  Requires experience to do it well.  I did not want to experiment and learn at this stage in the game, so it's welded, sealed, painted, done.  We'll see just how important that brazing is at some point in the future...maybe.

Next thing is to figure out how to mount the battery trays properly, the air cleaner, and then hopefully fire it up to see if it goes putt-putt.

Then it's paint, windows, dashboard, carpets, seats, bumpers, and final checks...3 weeks and counting.


Saturday 20 February 2016

Bit by bit...

Was able to get the doors hung, rear tailgate and upper hatch, and front right fender fitted.  As well as the seals around the doors and such to make sure they all close properly.

Had a slight fitment rub between the front fender and the front right door when it opened so I had to remove the fender and make a minor adjustment to the door hardware and now it just clears.  I believe this is quite common on these rigs; that this one area is a very tight fit.  But hey, for the many lego pieces that are becoming one truck, it's coming together quite nicely I must say.

I have someone tentatively booked to come paint next Saturday so I have this week to fit everything tight and do any minor body work and sanding to get 'er ready to become one color :-)


Thursday 18 February 2016

Injection Pump Diaphragm and misc mechanical stuff...

The main jobs for tonight were to re&re the Injection Pump Diaphragm and the high/low pressure oil lines in the engine bay.

The diaphragm was quite finicky and I have a new respect for dentists as I was using a mirror and doing the job backwards!  The diaphragm is made of leather and I suppose after 430,000kms it was tired (not sure if it had been replaced before this or not).  This would've been a much more difficult job had I installed the fenders, so I'm really glad I was able to do it at this stage in the project.  The diaphragm holds suction so when I removed one of the vacuum hoses and sucked on it, there was little to no resistance or vacuum buildup.  This is an approved method for diagnosing this issue, as well as the things in the next paragraph.

Known causes for a faulty diaphragm are abnormal smoke colors out the tailpipe and an increase in idle rpm's.  I had noticed both.  And most recently, after the truck sat for a number of weeks, I noticed the idle was even higher than before (and it was 1100rpm's when I bought it from the PO and it's supposed to be 650rpm's!).  I also would notice a blueish smoke out the exhaust, especially when under significant load at low speeds (ie, wheeling).  So hopefully this remedies those issues and the next time I fire it up she's back to normal.

The high/low oil hoses took some scrambling to find all the parts and pieces from around town this morning, but after four different shops/supply stores I was able to get all the pieces!  Again, two jobs that are very easy to do when I have complete access to the sides of the engine.

Did a few other little odds and ends like installing the fuel filler neck and custom cutting the 5spd and T-case covers as well.


Tuesday 16 February 2016

Lego's...putting it back together piece by piece.

Well, after spending two hours tonight looking for my throttle connecting rod, not much progress was made.  But that's ok because I also found out that I have a couple hoses and a diaphragm to replace and they are both MUCH easier to do when there are no front fenders attached, so I guess I know what I'm doing tomorrow night.

Got the front bezel on tonight, highlighting my repainted hood release/catch.

Also installed new mount cushions on the front bezel.  The PO had done an awesome repair to the bezel and installed some generic rubber in place of OEM cushions, which is great, but I figured since I was replacing all the other cushions anyways, I'd better just do them as well.


Sunday 14 February 2016

TOUCHDOWN!!!

Body...meet frame!

After hours of precariously placed jacks and ropes and chain hoists...we have touchdown people.

This is a huge milestone.

I am elated.

Everything lined up very nicely, which potentially could have not since I replaced half of the body mounts and had to bolt and weld new ones into place.

Bolts dropped right into place as I lowered the body millimetre by millimetre...Bam!

So, now for a few pictures which actually aren't very exciting to look at except for the fact that they represent a huge success for this guy.

We leave for a 6-day vacation in exactly one month from today and we ARE taking the truck!

It's go time.


Thursday 11 February 2016

Tank, lights, mounts...

1. Rubber coated and then re-installed the fuel tank.  Not as easy as one might think by oneself!

2. Cleaned rear signal/brake/running lights and lubed the mechanisms which hold each lamp.

3. Attempted to organize the body mounts but found out by cross referencing the different year/models of trucks that my new body and old body are quite different.  Looks like it will be a build-as-I-go system when I drop the body onto the frame!