Sunday 29 November 2015

Bottom Tailgate...

I was able to find a used tailgate which needed a bit of work to it instead of purchasing one for what seems to be an astronomical amount (good clean used parts for these are rare and not cheap!).  So, this one is solid except for the bottom 3" so I snapped it up and got to work on it today.

It's been crazy busy the past few weeks so I've neglected this project.  I hope to pick up the pace again now that things have quieted down a bit.


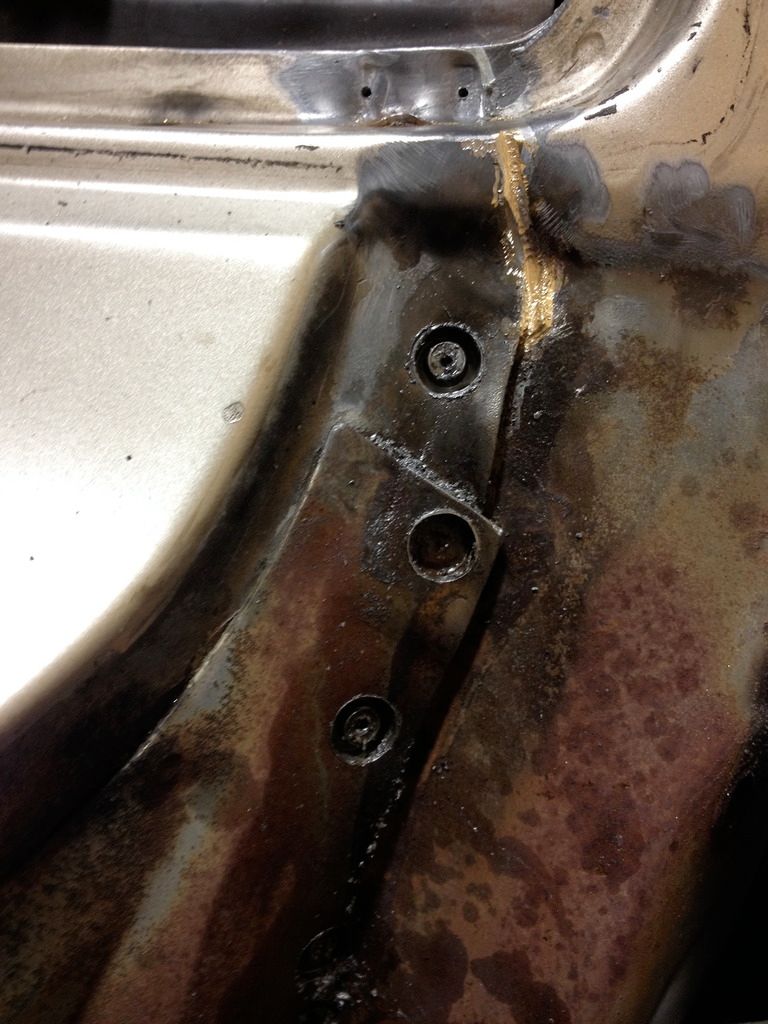
Last week I did have a chance to stop in at Millstone Sheet Metal in Duncan as they folded a piece of 18awg for my lower rear gate bottom. It was pretty rotten along the bottom. Although 18awg is a little thick, I figured it was worth a try. The one thing that's a bit of an issue is where the brackets are double thick so folding the front edge over to meet the existing edge is a bit tight. This afternoon I got around to cutting out the old and spot welding in the new. 

Dimensions I had them build the new piece was 3"x1"


The new piece is slightly larger on the back side where the 1" goes. I cut it slightly smaller so that I could fold it over and I think it will work out well. Obviously I'll have to add a bunch of seam sealer to that edge, but I think (hope?) it will bolster the strength a bit.


Also, the bottom of the gate has a natural curve to it so I think I was able to match that, but it may also have a bit of a natural rise which I'm not sure I was able to do. I guess I'll see if that matters once I reinstall it!


I'm really wanting to do the Wagongear mod on the tailgate for storage (
http://wagongear.com/shop/tailgate-lids/), as well as the rear cargo panels (http://wagongear.com/shop/side-panels/), but unless I can make it happen by personal fabrication it just simply isn't in the budget! I suppose I'm on the lookout for some 1/4" black plastic panelling and some access boxes...

Here's the progress from this afternoon...


Monday 16 November 2015

Milestone...no turning back now!

Well, tonight marks the "Eeeek, this has to work out now" moment!

The firewall is out of the donor body and ready for my old/existing one...which is still in my old Cruiser which is waiting for engine mounts from Australia still.

The fact remains people, this undertaking is, well, let's just say, massive.  Not that it's not doable or insurmountable, or that I wish I hadn't taken it on; but rather, it's more work than I'd wish it to be.

In the end I will have a vehicle that I know, perhaps, every square inch of.  Well, not the innards of the engine or transmission, but the body and frame and electrical and accessories...that stuff.  That actually brings some peace of mind because (1) trouble shooting future issues will be easier with such knowledge, and (2) taking the time now to prevent future problems is easier at this point in a project.

I'm getting excited to get all the pieces ready for painting and seeing this thing come together!

I picked up some seam sealant which will go over every part I've taken apart that has a seam, and I'll add it in places that Toyota didn't originally do from the factory.  As well, I'll redo the gutters because I can.

Also found some used fender flares to give some contrast to the finished paint job (probably a gloss black for the fenders), and some protection from chips and such.

Here's a couple pics for your viewing pleasure.


Sunday 8 November 2015

Progress...

After a few more evenings and weekends the body is off!

Now I have full access to the underneath of the firewall to drill out the rest of the spot welds.  This will allow me to remove the firewall and RHD dash and replace it with my LHD out of my original rig.

Also did some media blasting on a few parts and painted a few of them.

I'm really looking forward to seeing how this turns out!

Ceiling under headliner has some glue left over.  Will need to wirewheel that off!


Rear seat attachment points media blasted and repainted.  Look like new!


All the weather stripping and door/window rubber removed.


Spot weld removal on firewall starting to come along.


Fuel lines disconnected.


Body mounts disconnected.


Brake lines disconnected.


Clearance looks solid.


Frame officially removed!


Front body.


Rear body.


1. Remove firewall completely.
2. Clean undercarriage.
3. Repair a couple rust spots.
4. Sand.
5. Add seam sealer
6. Paint.

Obviously that's oversimplifying things, but that's what this body needs.  I will still need to essentially do much of this again with the original truck except I wont care so much about the body, but just the firewall and dash.

One step at a time...