Not much of a "Family Day," but I'll take a Family Week off once this project is done and take a trip up to the interior to visit family and friends, and to stretch the new Rig's legs and see how slow I can go up the Coquihalla ;-)
Although my family got the shaft today, I was able to make some more progress with the truck.
1. Re-installed firewall bits and pieces.
2. Removed fuel tank. I think I'll probably slam my Camo tank in for now as I know it runs with my 3B (12v vs 24v shenanigans).
3. Customized the rear seat heater from the HJ (under console mount) with the BJ motor and shroud. One might think that this is simply a swapping of the 12v into the 24v spot, but alas it is not! There are many parts which are the same, but how the HJ mounts under the console is quite different so you have to modify the BJ motor casing and mounting brackets. I didn't take pics because, well, I didn't...except the final placement, which I will include here even though it will just look like an HJ rear heater...pffft.
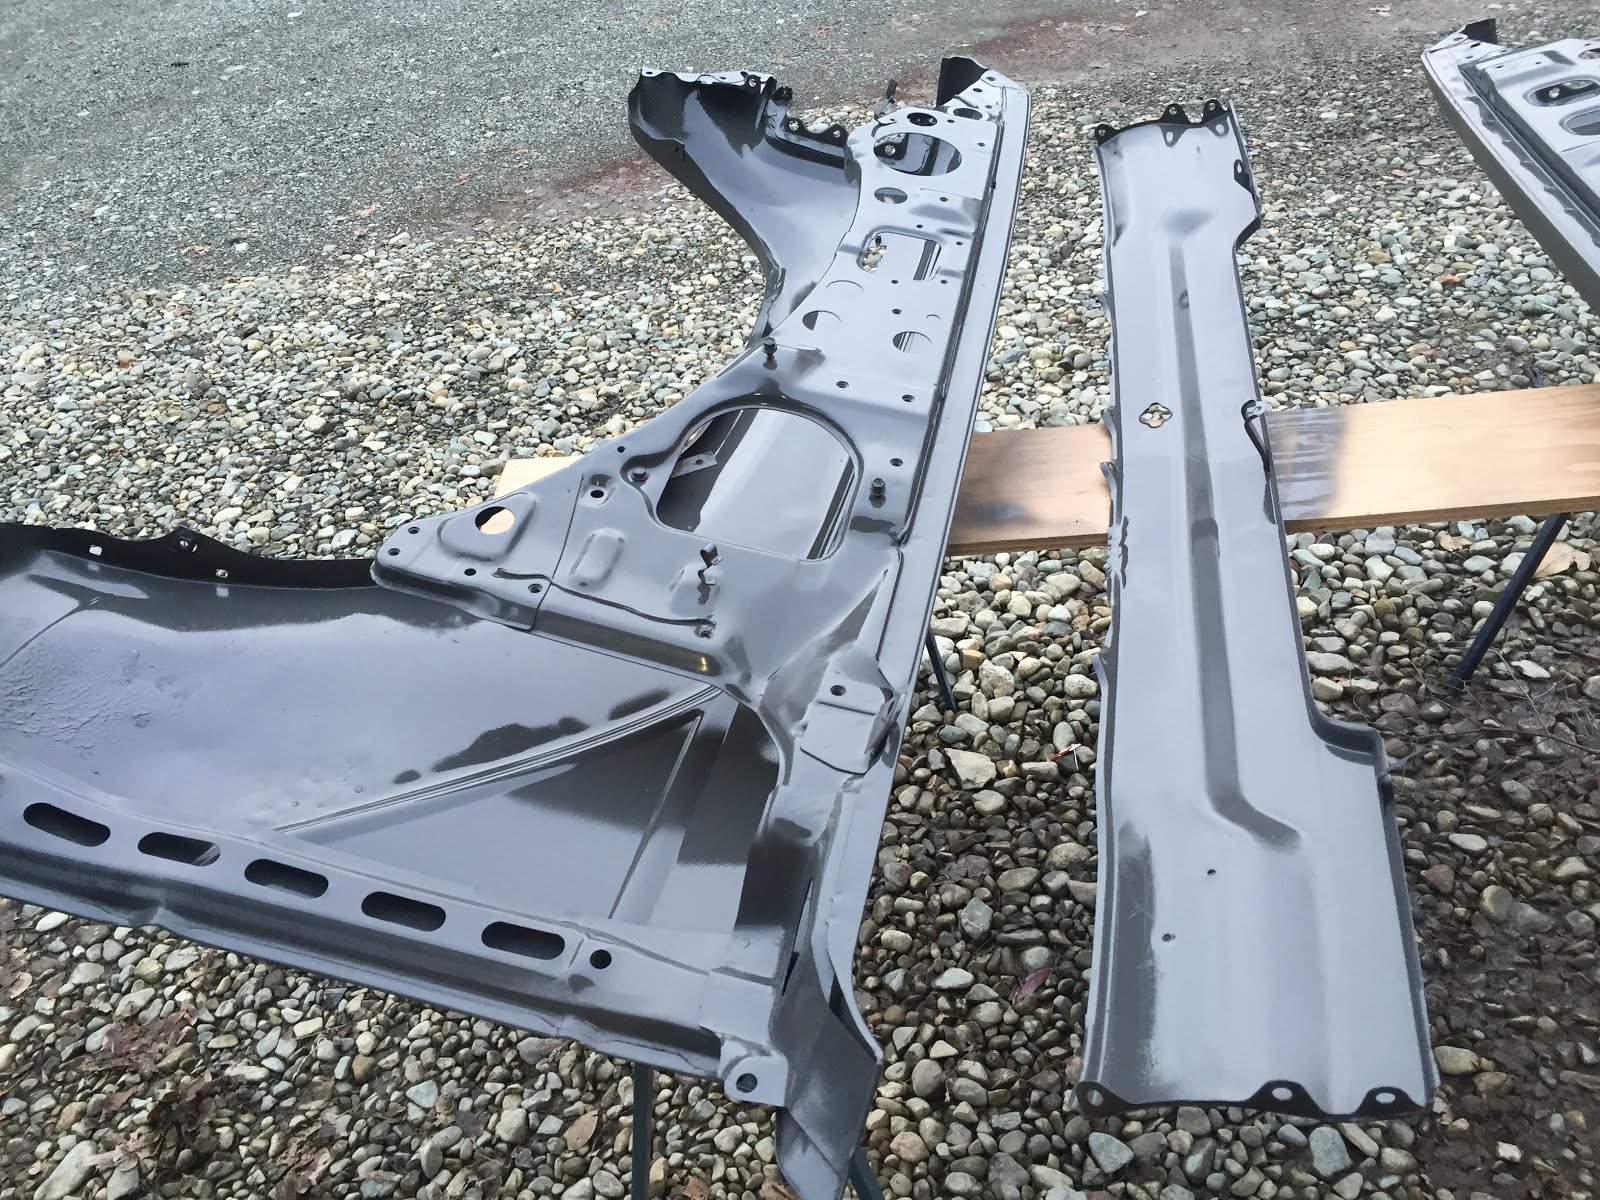
4. Asphalt sprayed the underside of the body...that was fun...not.
5. Prepped and sprayed the front bezel (I apparently forgot it the other day as it was hiding under a bench...doh!). Lucky for me, the PO had already beefed it up by cutting the bottom 6" off and installing a nice piece of 2x6 tube as reinforcement, so no welding for me!
6. I stripped the window wiper linkage down to the nitty gritty's and gave it a good lube. One of the pivots was pretty rusty. I suppose that's what was squeaking before. Moly greased the bajeebies out of all the pieces and made a custom syringe for inserting grease into and under rubber covers where pivot points were.
6. I stripped the window wiper linkage down to the nitty gritty's and gave it a good lube. One of the pivots was pretty rusty. I suppose that's what was squeaking before. Moly greased the bajeebies out of all the pieces and made a custom syringe for inserting grease into and under rubber covers where pivot points were.
7. I pulled out my upper rear hatch to start putting all the pieces back inside of it but realized I really didn't have a clue as to what went where, so I'll have to look back through my pics or maybe one of you (which, based on the people who read this blog would be Scott) with a 60 can come over and I can use your rig as my schematic ;-) I'll probably recruit someone locally on the Island from the Cruiser Club...
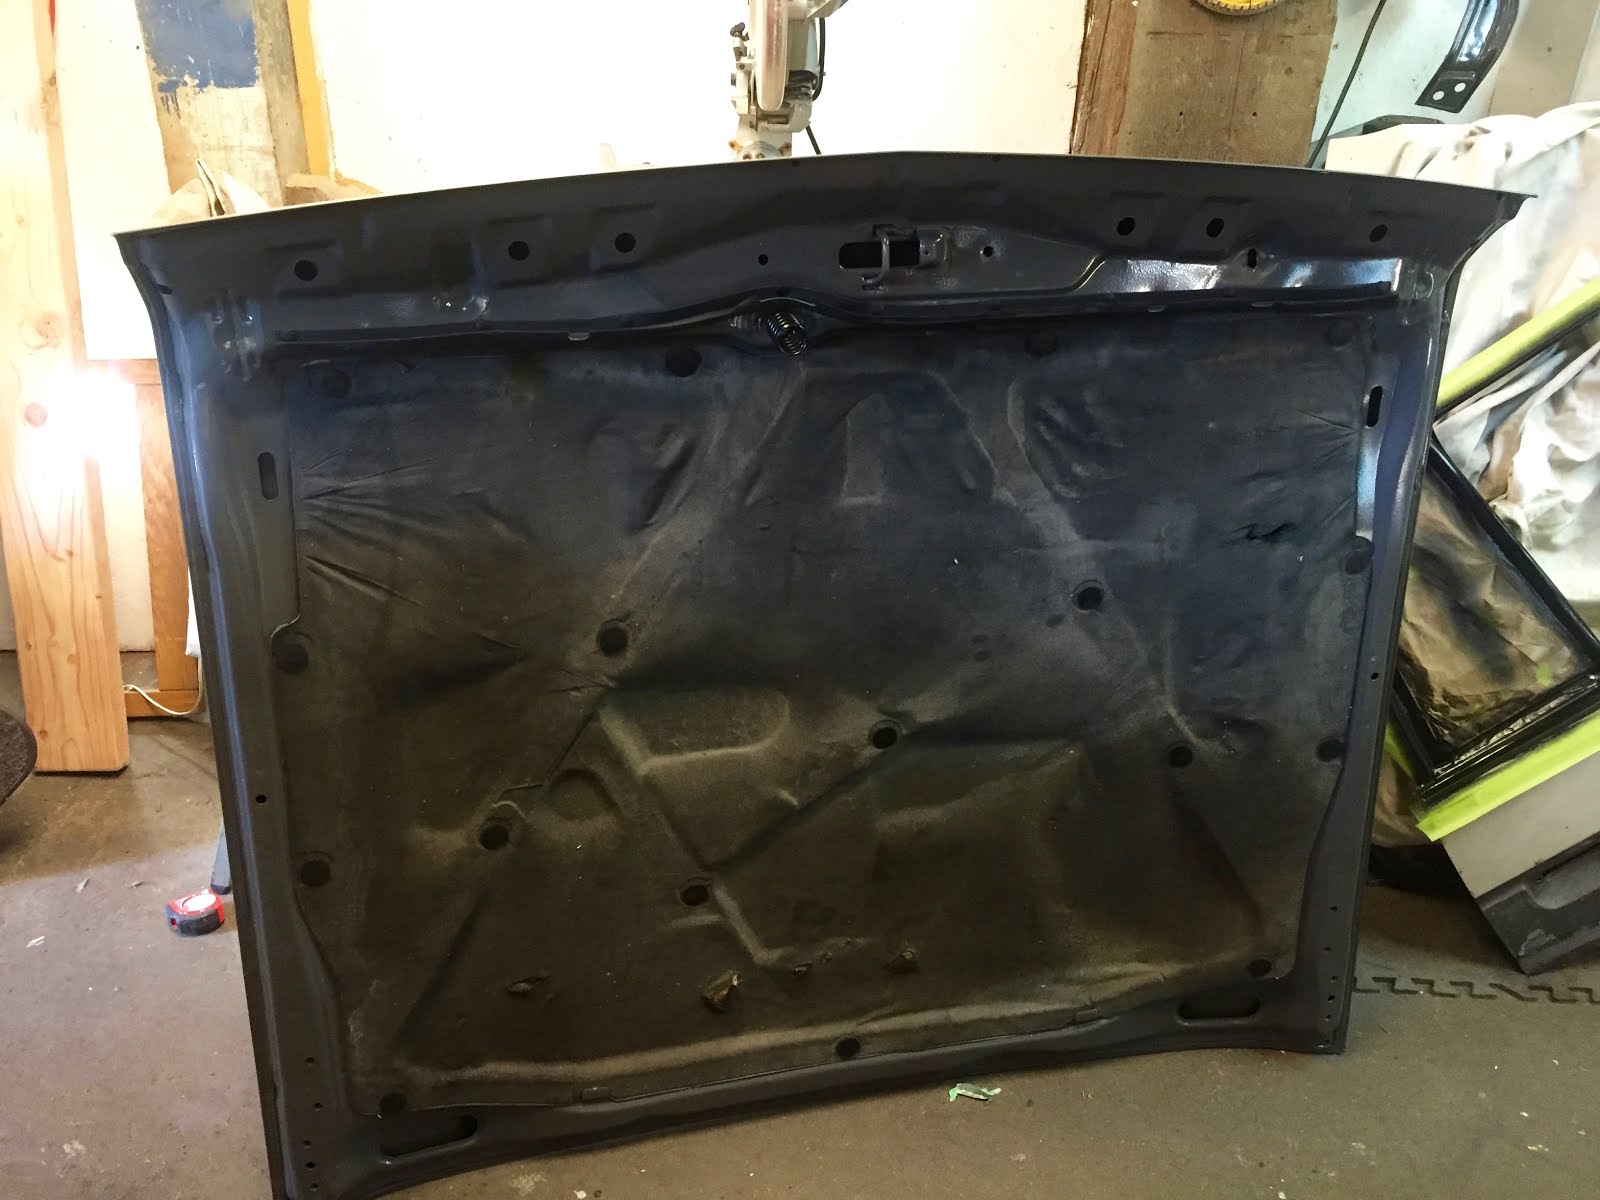
8. Reinstalled the sound/heat mat under the hood and the rubber cushion with new inserts from Lordco. They work but are a bit loose. Does the job.
9. I bought all new bolts for the body mounts, so now that all the above things are completed I think it's time to drop the body on the frame! Who wants to come over and finesse those two together with me?