Sunday, 14 February 2016

TOUCHDOWN!!!

Body...meet frame!

After hours of precariously placed jacks and ropes and chain hoists...we have touchdown people.

This is a huge milestone.

I am elated.

Everything lined up very nicely, which potentially could have not since I replaced half of the body mounts and had to bolt and weld new ones into place.

Bolts dropped right into place as I lowered the body millimetre by millimetre...Bam!

So, now for a few pictures which actually aren't very exciting to look at except for the fact that they represent a huge success for this guy.

We leave for a 6-day vacation in exactly one month from today and we ARE taking the truck!

It's go time.


Thursday, 11 February 2016

Tank, lights, mounts...

1. Rubber coated and then re-installed the fuel tank.  Not as easy as one might think by oneself!

2. Cleaned rear signal/brake/running lights and lubed the mechanisms which hold each lamp.

3. Attempted to organize the body mounts but found out by cross referencing the different year/models of trucks that my new body and old body are quite different.  Looks like it will be a build-as-I-go system when I drop the body onto the frame!


Monday, 8 February 2016

Stuff was done...

Not much of a "Family Day," but I'll take a Family Week off once this project is done and take a trip up to the interior to visit family and friends, and to stretch the new Rig's legs and see how slow I can go up the Coquihalla ;-)

Although my family got the shaft today, I was able to make some more progress with the truck.

1. Re-installed firewall bits and pieces.

2. Removed fuel tank.  I think I'll probably slam my Camo tank in for now as I know it runs with my 3B (12v vs 24v shenanigans).

3. Customized the rear seat heater from the HJ (under console mount) with the BJ motor and shroud.  One might think that this is simply a swapping of the 12v into the 24v spot, but alas it is not!  There are many parts which are the same, but how the HJ mounts under the console is quite different so you have to modify the BJ motor casing and mounting brackets.  I didn't take pics because, well, I didn't...except the final placement, which I will include here even though it will just look like an HJ rear heater...pffft.

4. Asphalt sprayed the underside of the body...that was fun...not.

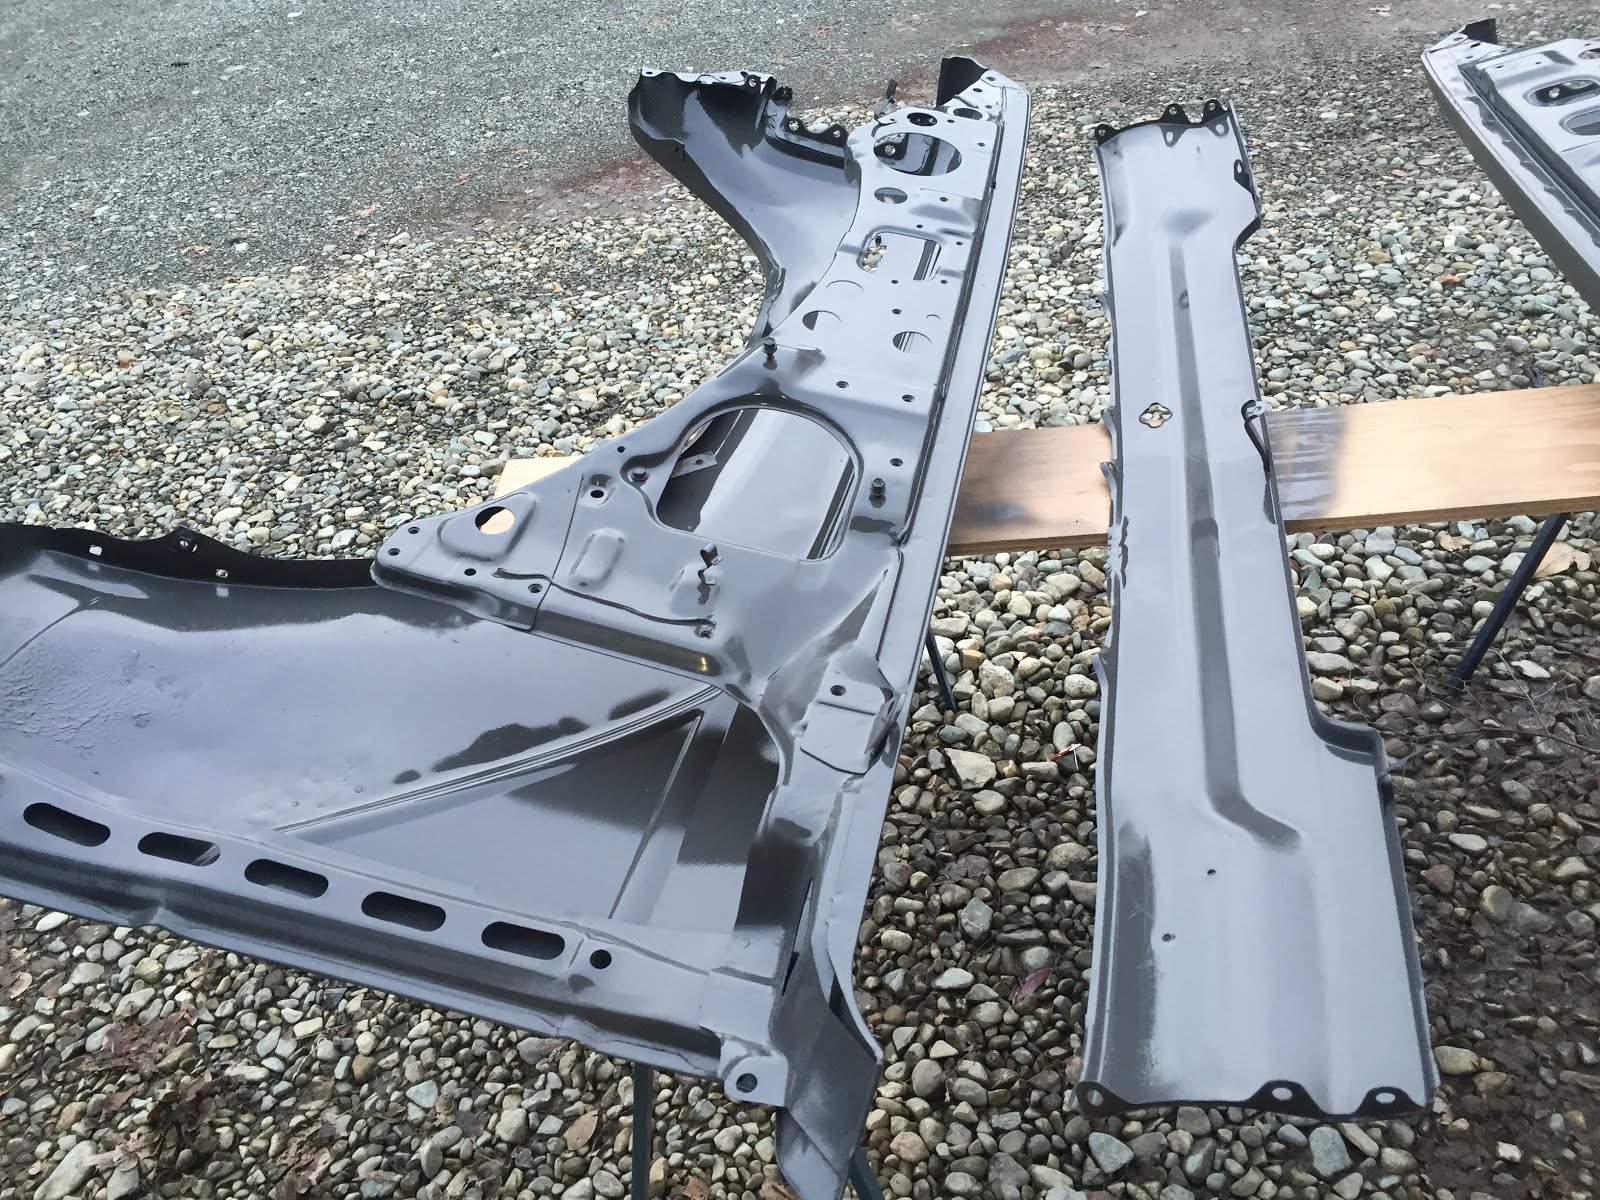
5. Prepped and sprayed the front bezel (I apparently forgot it the other day as it was hiding under a bench...doh!).  Lucky for me, the PO had already beefed it up by cutting the bottom 6" off and installing a nice piece of 2x6 tube as reinforcement, so no welding for me!

6. I stripped the window wiper linkage down to the nitty gritty's and gave it a good lube.  One of the pivots was pretty rusty.  I suppose that's what was squeaking before.  Moly greased the bajeebies out of all the pieces and made a custom syringe for inserting grease into and under rubber covers where pivot points were.  

7. I pulled out my upper rear hatch to start putting all the pieces back inside of it but realized I really didn't have a clue as to what went where, so I'll have to look back through my pics or maybe one of you (which, based on the people who read this blog would be Scott) with a 60 can come over and I can use your rig as my schematic ;-)  I'll probably recruit someone locally on the Island from the Cruiser Club...
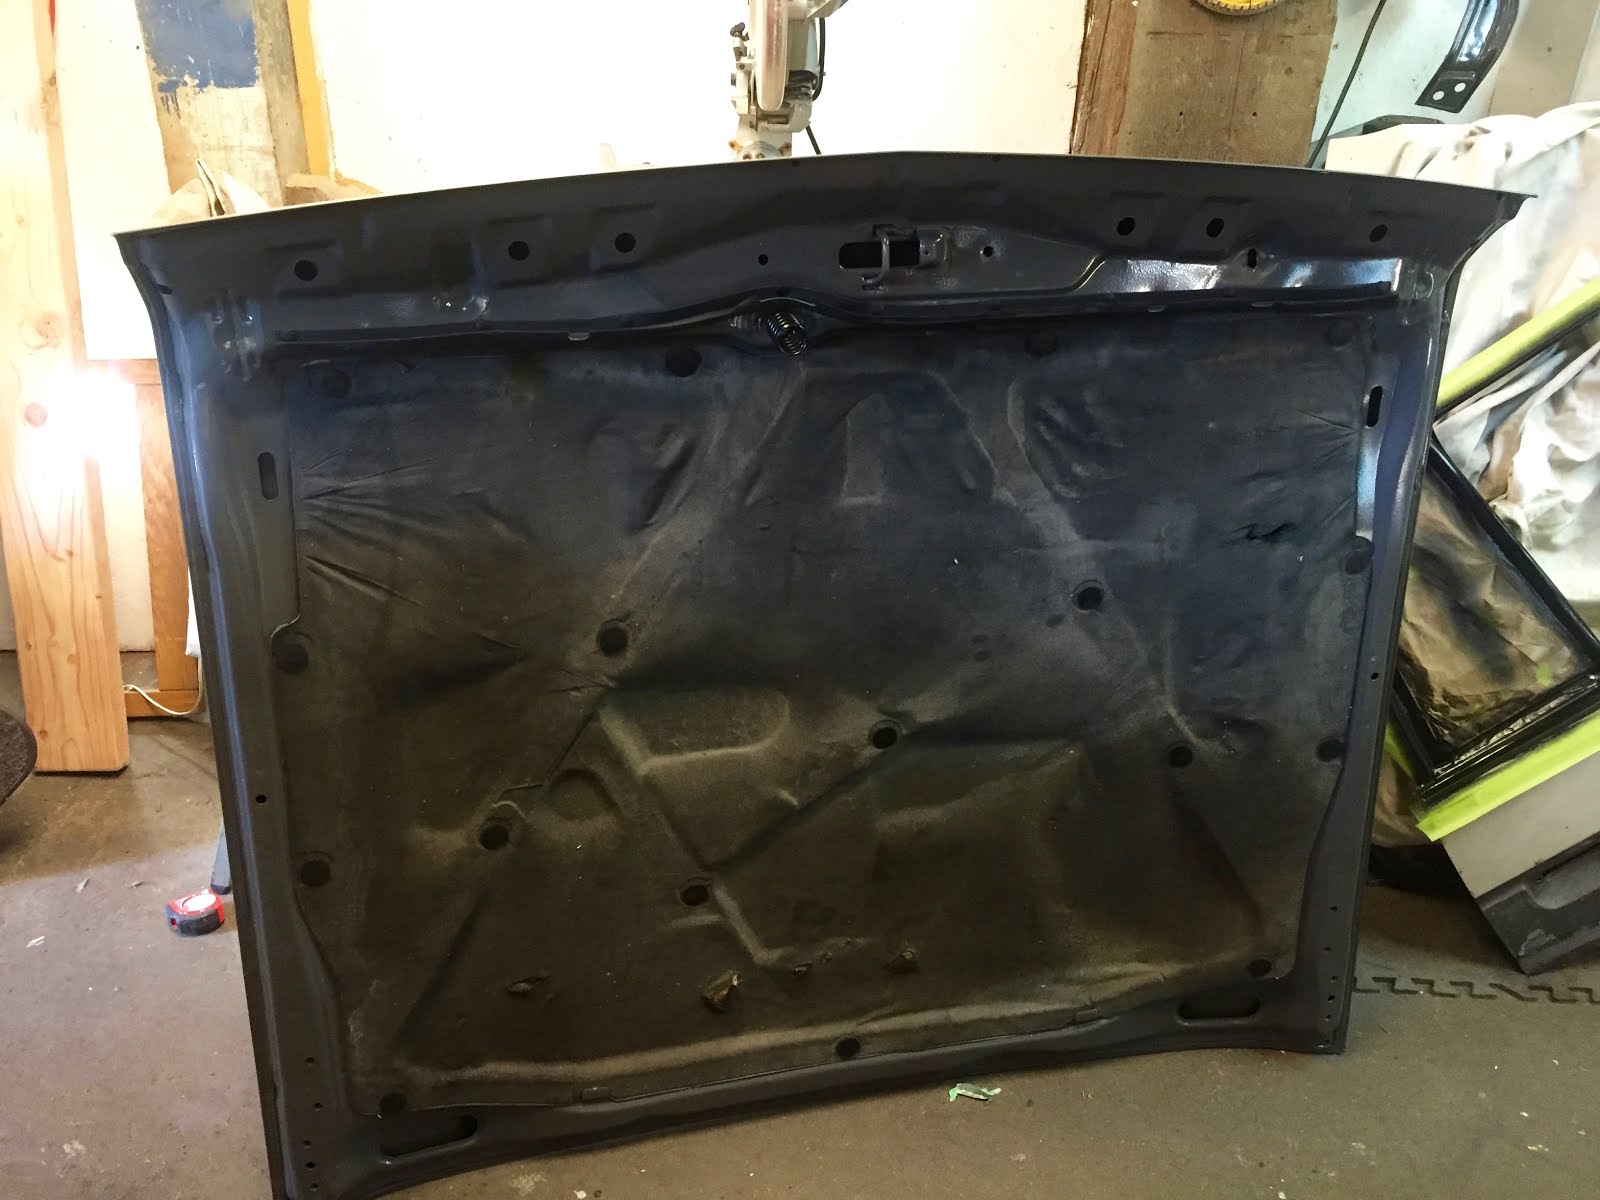
8. Reinstalled the sound/heat mat under the hood and the rubber cushion with new inserts from Lordco.  They work but are a bit loose.  Does the job.

9. I bought all new bolts for the body mounts, so now that all the above things are completed I think it's time to drop the body on the frame!  Who wants to come over and finesse those two together with me?  


Here's a few pics because I know that's probably all I'd want to see in a build thread too.






Sunday, 7 February 2016

Inner Engine Compartment Pieces Painted

Yup, like the title says.


Firewall is IN people!!!

After a week away I was able to get back to this project with vigour!

I've waited for awhile now to really commit to welding the firewall into place, but after a bit of research and a strong desire to just get this project completed, I dove in and just went for it today.  Based on what I've measured and read, I should be good, but if it's too tight when it comes time to installing the window then I'll just trim the window ledge rail a tad and make it fit!  I left the top 6" on each side unfinished because I need to get that part brazed, so I'll tidy up the welds after that is complete.

Was also able to black out some more chrome pieces (headlights and surrounding pieces) and cut/weld/bondo my front outer fender as I wasn't able to source a better one for a decent price.  It's not perfect by any means but will have to do, at least for now.


Tuesday, 26 January 2016

No more breeze...

With my blower assembly out of the dash I thought I'd check the foam around the connections and closure mechanisms.  Welllllllll, it disintegrated.  All of it.  Gone.  Bye-bye.

So I cleaned up the areas and installed new foam.  Should be good for another 33 years now ;-)

Did a small repair with one of those UV light pens and it worked amazingly!  Actually held the unit up by the small piece with no issues right after doing the repair.  Makes epoxy seem, well, less awesome.

Then we (me and the boys) dismantled the rest of the original Cruiser doors.  Lots of good parts and pieces to keep for decades and decades...